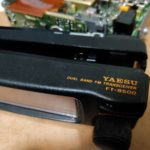
Few days ago I received the Yaesu FT-8500, very old radio (the manual was printed in 1995 so I guess that’s the year this radio was produced).
The radio is in good condition and operate on 2m and 70cm bands but it was sitting in a storage for few years collecting dust.
When I first connected it to the power I noticed that the VFO was showing the lowest frequencies on the bands and I didn’t give it too much attention.
I changed some frequencies and settings and when I finished playing with the radio and disconnected it from the power supply.
On the next day, the frequencies and the settings was back to default.
I decided to try resetting the CPU and start fresh but it didn’t help, every time I disconnected the power for few hours it was all reset to the factory settings.
The memories on the other hand, was still there so I assumed that the radio has internal battery to keep the settings and some kind of EEPROM to save the memory channels.
Opening the radio
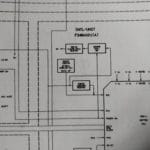
Looking on the schematics didn’t help, it’s too complex and I had hard time finding if there’s any battery and where its location.
So inspecting the radio from the inside was the better way for me to find the battery.
I took the top (6 screws), the bottom (6 screws) covers off and one screw on right of the front panel (if you’re trying to replace the battery, don’t unscrew the smaller one on the left).
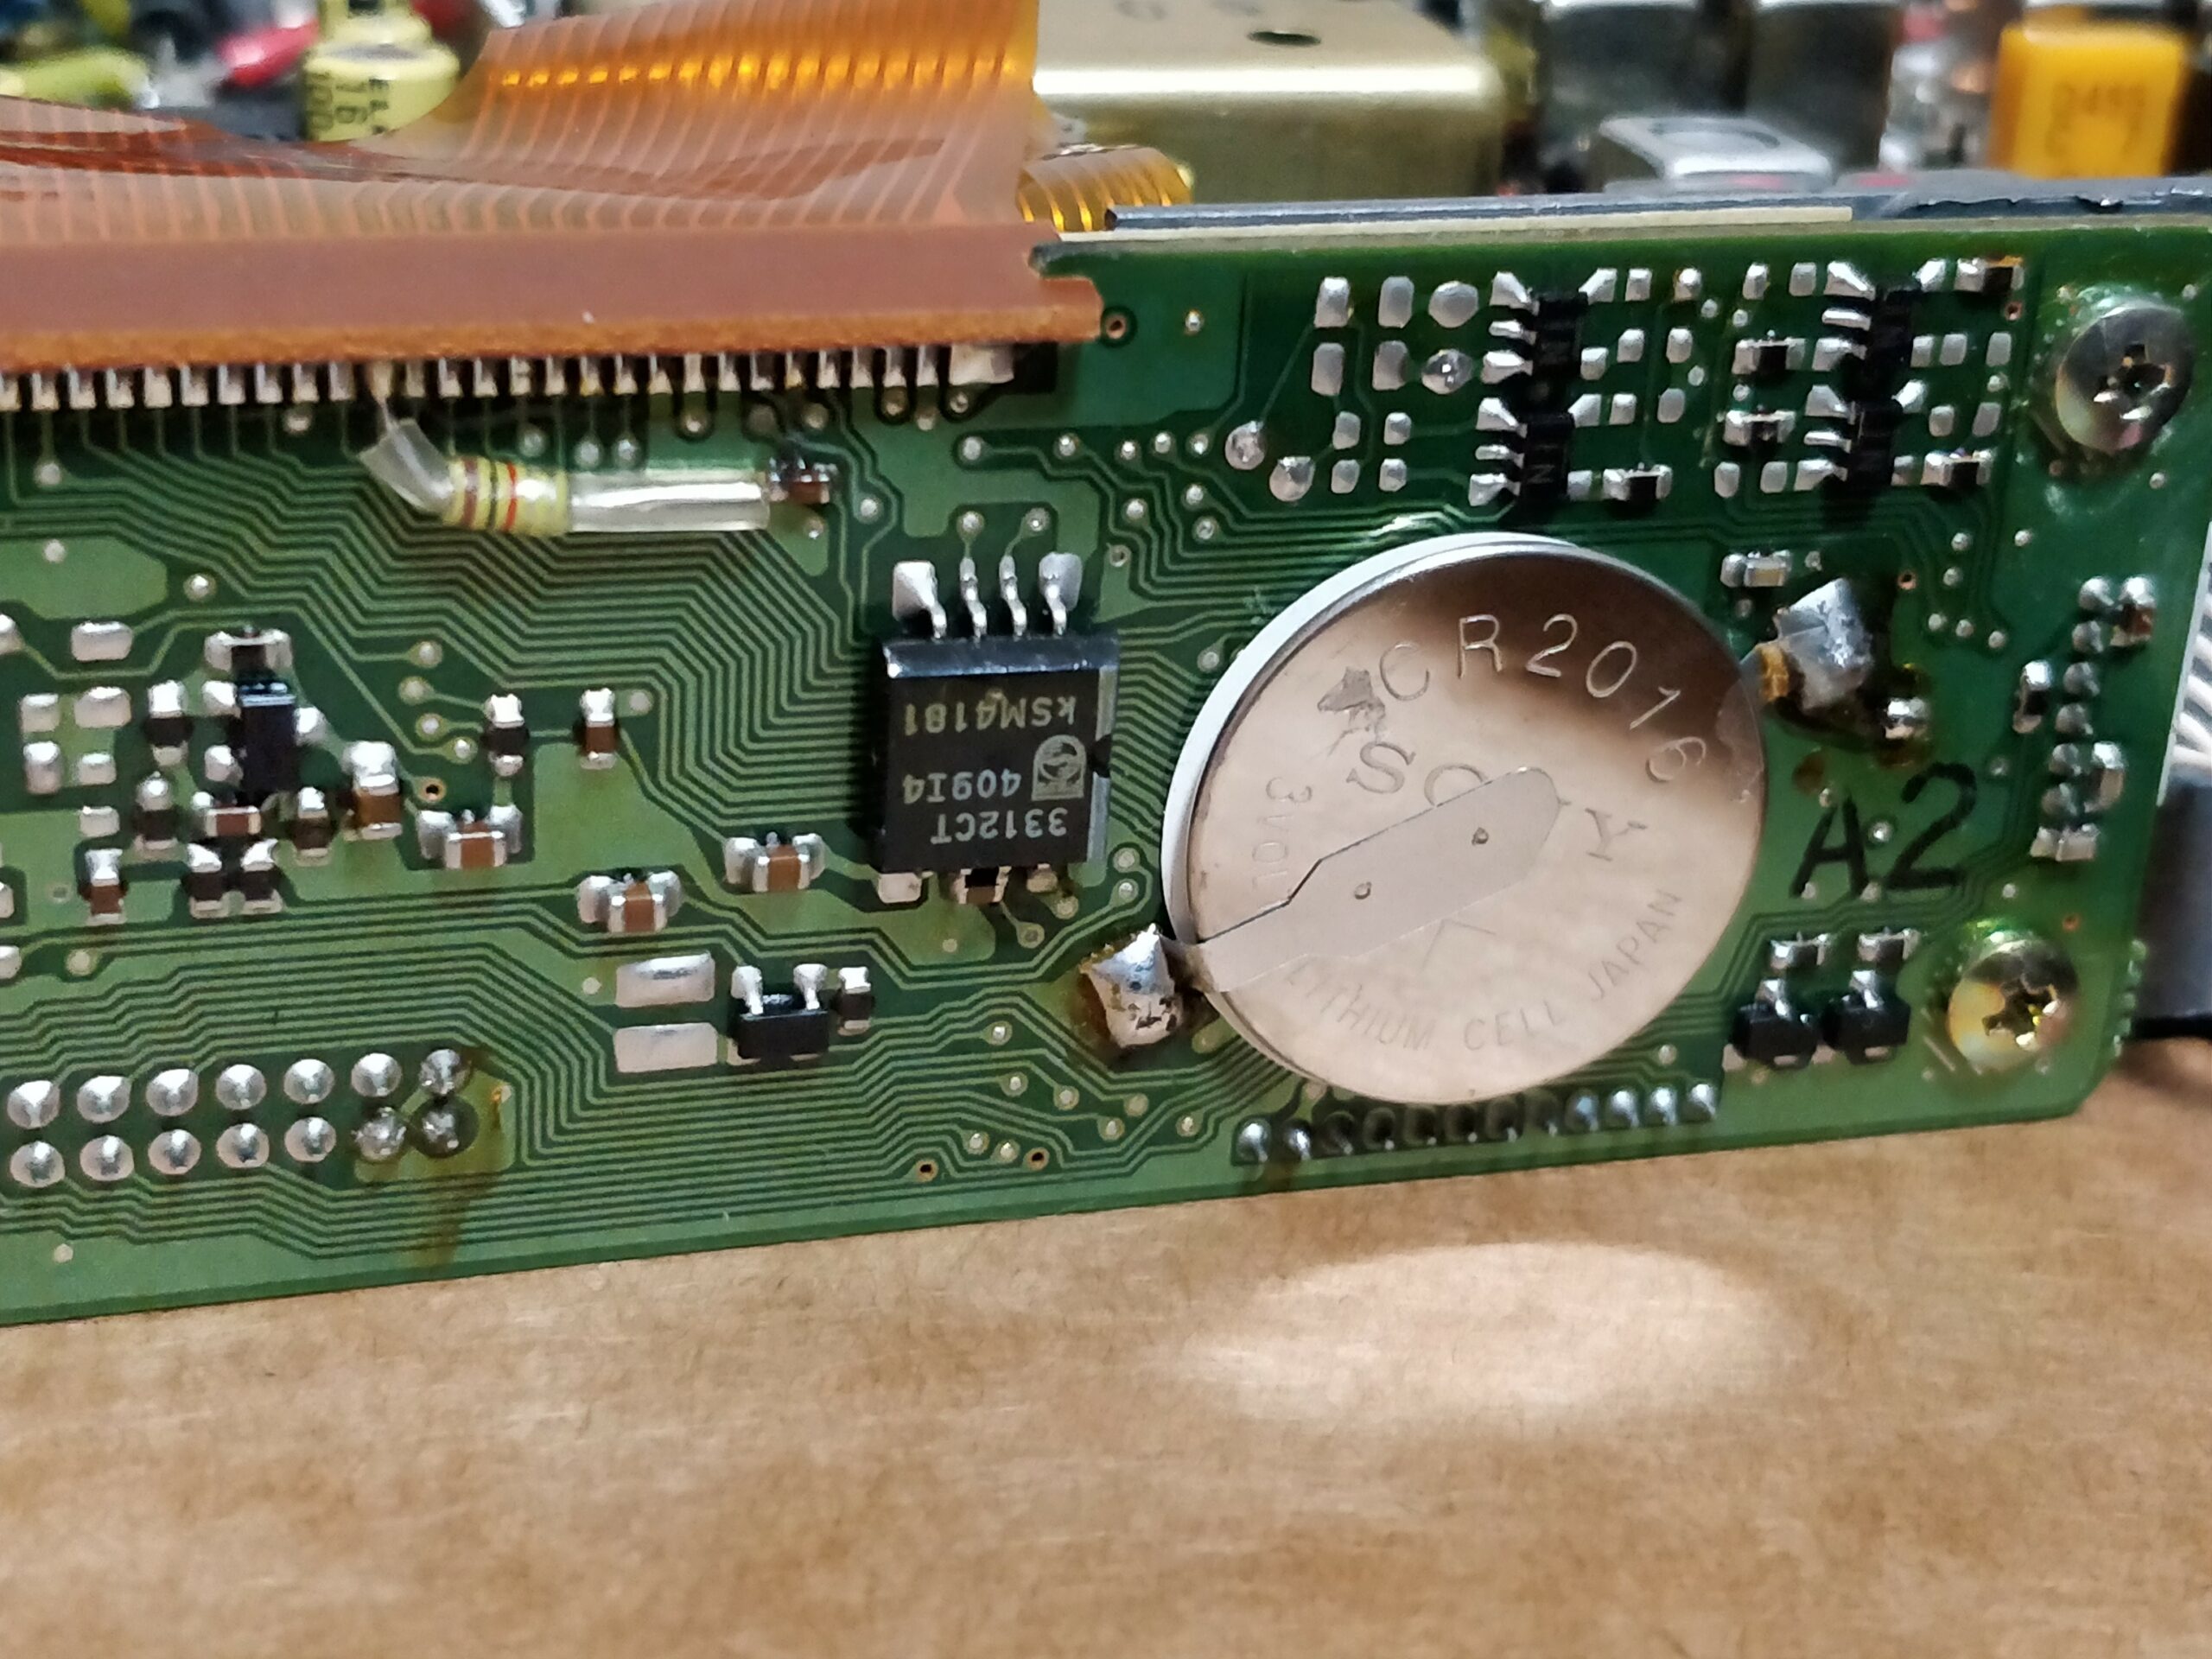
Then I took 4 screws off of the front chassis (2 on the top and 2 on the bottom) and found the battery behind the front panel.
The battery is CR2016 3V and it has 2 pins welded to it.
Since I didn’t have such battery with pins or spot welder I had to solder 2 wires to the battery as quick as possible to reduce the damage to the battery.
The next step was to cover it with shrinking tube and some Kapton tape to keep it from shorting traces on the PCB and solder it back to the board.
Testing it
After putting everything back together I powered the radio and changed some settings to see if it’ll keep it.
Then I disconnected the radio from power and gave it a night.
On the next morning I connected back to power and… It worked!
We use cookies on our website to give you the most relevant experience by remembering your preferences and repeat visits. By clicking “Accept All”, you consent to the use of ALL the cookies. However, you may visit "Cookie Settings" to provide a controlled consent.
This website uses cookies to improve your experience while you navigate through the website. Out of these, the cookies that are categorized as necessary are stored on your browser as they are essential for the working of basic functionalities of the website. We also use third-party cookies that help us analyze and understand how you use this website. These cookies will be stored in your browser only with your consent. You also have the option to opt-out of these cookies. But opting out of some of these cookies may affect your browsing experience.
Necessary cookies are absolutely essential for the website to function properly. These cookies ensure basic functionalities and security features of the website, anonymously.
Cookie
Duration
Description
cookielawinfo-checkbox-analytics
11 months
This cookie is set by GDPR Cookie Consent plugin. The cookie is used to store the user consent for the cookies in the category "Analytics".
cookielawinfo-checkbox-functional
11 months
The cookie is set by GDPR cookie consent to record the user consent for the cookies in the category "Functional".
cookielawinfo-checkbox-necessary
11 months
This cookie is set by GDPR Cookie Consent plugin. The cookies is used to store the user consent for the cookies in the category "Necessary".
cookielawinfo-checkbox-others
11 months
This cookie is set by GDPR Cookie Consent plugin. The cookie is used to store the user consent for the cookies in the category "Other.
cookielawinfo-checkbox-performance
11 months
This cookie is set by GDPR Cookie Consent plugin. The cookie is used to store the user consent for the cookies in the category "Performance".
viewed_cookie_policy
11 months
The cookie is set by the GDPR Cookie Consent plugin and is used to store whether or not user has consented to the use of cookies. It does not store any personal data.
Functional cookies help to perform certain functionalities like sharing the content of the website on social media platforms, collect feedbacks, and other third-party features.
Performance cookies are used to understand and analyze the key performance indexes of the website which helps in delivering a better user experience for the visitors.
Analytical cookies are used to understand how visitors interact with the website. These cookies help provide information on metrics the number of visitors, bounce rate, traffic source, etc.
Advertisement cookies are used to provide visitors with relevant ads and marketing campaigns. These cookies track visitors across websites and collect information to provide customized ads.


 DIY Shortened Vertical Antenna
 Controlling Somfy blinds with ESP8266
 AllStar to DMR bridge
 Repeaters Frequency Calculator
 Accessing LAN over ZeroTier easily
 Using The QYT KT8900 for an Allstar node
 Building APRS Digipeater with Raspberry Pi
 DIY Magnetic Loop – Part 1 – The Capacitor
 AllStar Node using the Baofeng 888
 Callsigns instead of node numbers on Allstar