The Story Behind
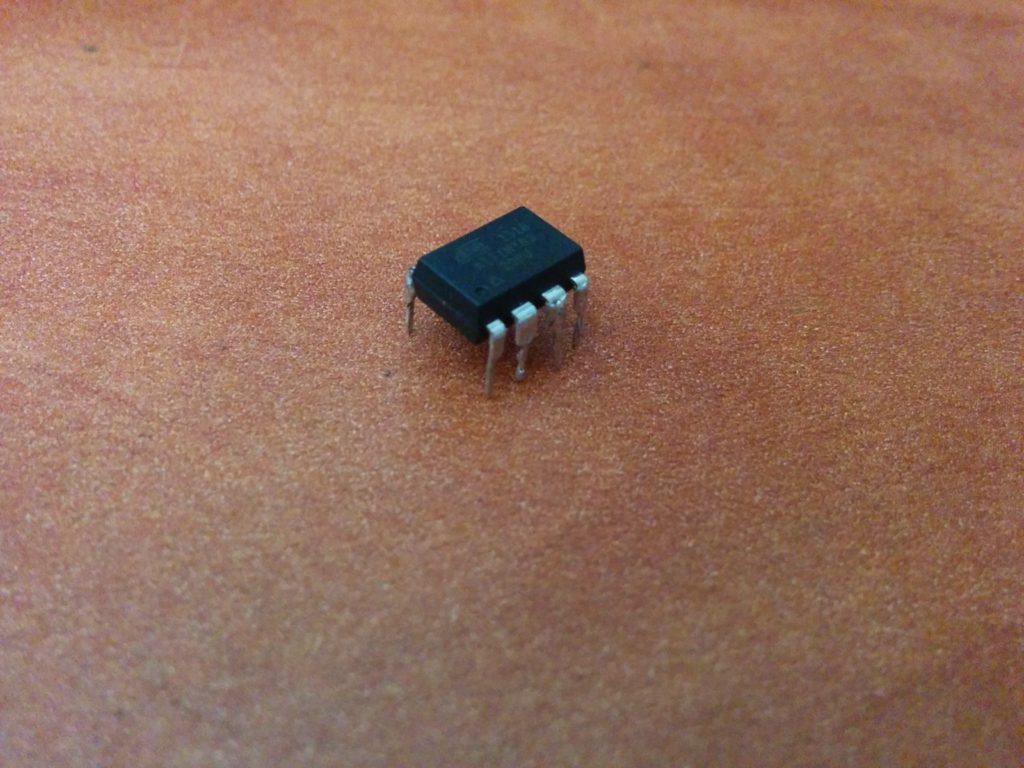
ATTiny85’s are sweet
Almost everyone who mess with the ATTiny85 end at least one time with a dead one caused by bad fuses. I’m in that group 🙂
So, I was looking for a solution.
The solutions are:
- Use 12V programmer or use another AVR with 12V to flash the fuses back.
- Add an external clock or crysal
- Use JTAG
I decided to go on with the first solution and ordered the parts from Taydaelectronics.com
I found few posts about how to build it:
https://sites.google.com/site/wayneholder/attiny-fuse-reset
http://www.gammon.com.au/forum/?id=12898
http://www.simpleavr.com/avr/hvsp-fuse-resetter
I received the parts (I wanted the last one) and started to build.
But…
I was too lazy.
I searched for more ways and found this one: Link
But It didn’t work for me, even the Anonymous guy method down in the comments who gave some codes of ISP to try.
I googled again and found my hero!
http://www.larsen-b.com/Article/260.html
How to use an external clock?
I needed some more search to find out how to use the External Clock of another AVR but in the end I found it.
I’ve used a fresh ATTiny85 for this.
The steps to make it work:
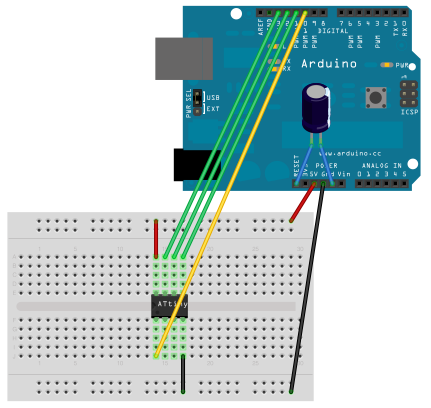
- Flash your Arduino Uno as ISP with the regular example from the menu.
- Connect the new ATTiny85 to the ISP as shown here (courtesy of http://highlowtech.org):
- And flash this code via the Arduino IDE:
int main() { DDRB = 0xFF; while (1) { PORTB = ~PINB; asm volatile("nop"); asm volatile("nop"); } return 0; } - Download WinAVR or use the Avrdude.exe from the Arduino IDE folder and burn those fuses to the new ATTiny85:
-U lfuse:w:0xa2:m -U hfuse:w:0xdf:m-U efuse:w:0xff:m
(Usually goes like this: avrdude -p attiny85 -c stk500v1 -P YOURCOMPORT -b 19200 -U lfuse:w:0xa2:m -U hfuse:w:0xdf:m -U efuse:w:0xff:m) - Connect dead ATTiny85 to the ISP and put the new one next to it.
- Connect 5V and GND to the new one and add another wire from pin 5 to pin 2 on the broken one.
- Open the Arduino IDE and choose ATTiny85 on boards menu, click on “Burn Bootloader” and your’e DONE!